
The guides, in the order the work happens
Start with planning. The route and the width cost nothing to get right and are almost impossible to change once the path is in. More guides are added as the section grows.
Planning a Path
Finding the route from the paths people already wear, widths that really work, curves and junctions, ADA-style slopes and surfaces, how the path meets the lawn and the house, and rough US costs with quantities in cubic yards.
Route, width and slopePath Materials
Mulch, pea gravel, crushed stone, decomposed granite, concrete pavers, brick, flagstone, poured and stamped concrete, permeable pavers, wood and stepping stones - compared on cost, lifespan, upkeep, grip, snow shoveling and drainage.
Every surface comparedLaying a Path
Layout and calling 811, digging depths by surface, building and compacting a gravel base, deeper bases where frost heave is a problem, grades and slope, edging that holds it all together, and permeable installs.
The layers that make it lastMaintenance & Repairs
Why weeds really grow in the joints, cleaning each surface without damage, snow, ice and de-icers, common problems diagnosed, and fixing sunken pavers, wandering gravel and cracked concrete.
Keep it safe and soundFour things that decide whether a path works
Nearly every disappointing path fails for one of these reasons.
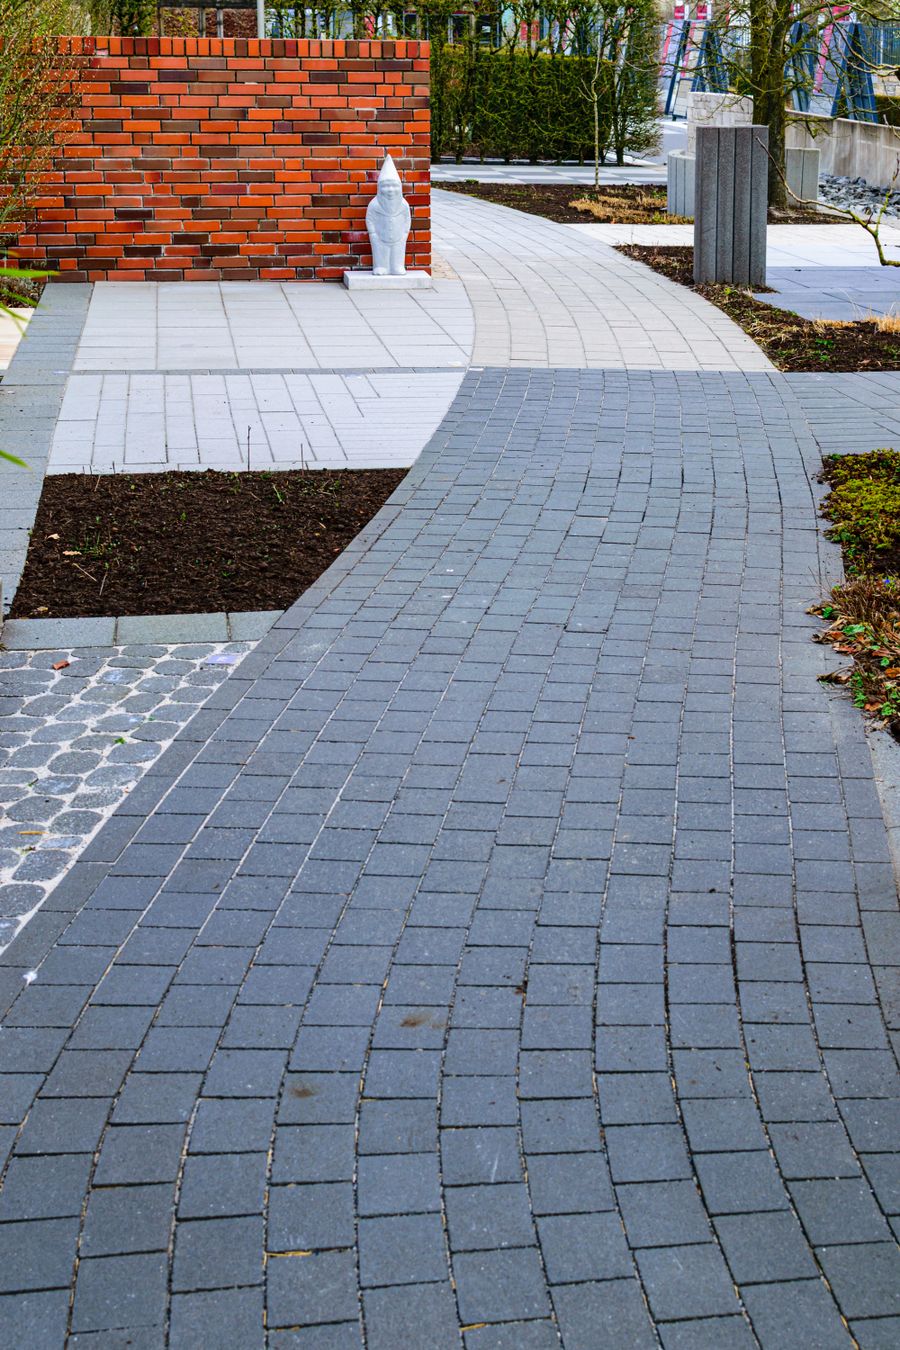
Build it wider than feels necessary
Too narrow is the most common path mistake of all. Plan 3-4 feet for an everyday route and 4-5 feet for a front walk - and expect plants to steal another 6-8 inches by midsummer. Widths that work.
Follow the paths people already make
Worn grass and mud tracked indoors show where people really walk. A path built on those lines gets used; a prettier one beside them doesn’t. Choosing the route.
The base is the path
Compact crushed gravel in layers no thicker than about 3 inches with a plate compactor. One thick dump looks solid on top and stays loose underneath - exactly where the pavers sink or heave after a couple of winters. Base and compaction.
Give it slope, and an edge
A gentle cross slope of about ⅛ to ¼ inch per foot away from the house stops water sitting, which is what causes moss, algae and ice. A continuous edge restraint stops gravel wandering and pavers creeping apart. Grades, slope and edging.
A path project, step by step
Six stages. The first two are free, and they decide more than everything after them put together.
-
Step 1
Find the route the yard already wants
Look for worn grass and muddy shortcuts. Lay out the line with a garden hose and live with it for a week - walk it in the dark, push a wheelbarrow along it, roll the trash cans down it and look at it from upstairs.
Choosing the route → -
Step 2
Set the width, then add a little
3-4 feet for a path used daily, 4-5 feet for a front walk two people share, and 3 feet minimum for a wheelbarrow. Allow another 6-8 inches for plants spilling over from the beds.
Widths that work → -
Step 3
Choose a surface to suit the job and the climate
Pavers, brick or concrete for an everyday route and anything you’ll shovel; pea gravel or decomposed granite for informal paths (DG is a favorite in the dry West); mulch for a woodland path. Curves need small units - big slabs won’t follow them.
Every material compared → -
Step 4
Lay it out, call 811, dig to firm ground
Mark both edges with stakes and string or marking paint, have buried utilities marked through 811, find sprinkler lines and septic components, set your finished grades sloping away from the house, and dig down to firm, undisturbed soil.
Layout and digging → -
Step 5
Build the base and the edging properly
Crushed gravel base (crusher run or road base) in lifts of about 3 inches, each compacted with a plate compactor - and deeper in cold, wet clay where frost heave is common. Then a continuous edge restraint, with the slope built in as you go.
Base and edging → -
Step 6
Sweep it, and clean it each spring and fall
Most weeds sprout in the debris that collects on top, not up through the fabric. Regular sweeping beats spraying, and a fall cleanup stops leaves turning the path slick before the first freeze.
Weeds and cleaning →
Work out the quantities before you order
Base gravel and surface materials are sold by the cubic yard or the ton, and both are easy to under-order.
Garden paths and walkways: the questions everyone asks first
Quick answers to get you started. Each guide has its own fuller set.
How wide should a garden path or walkway be?
For a path used every day, 3-4 feet; for a front walk where two people walk side by side, 4-5 feet. A wheelbarrow needs 3 feet minimum and a wheelchair 3 feet, with 5 feet to pass. Informal side paths can be 2-3 feet. Whatever you first decide, add 6-12 inches - nearly everyone builds narrower than they later wish - and expect plants to take another 6-8 inches of usable width by midsummer.
What is the best material for a walkway?
It depends on the job and your climate. Concrete pavers, brick or broom-finish concrete for a front walk or everyday route - firm, level, barrow-friendly and easy to shovel. Pea gravel or crushed stone for an informal path. Stabilized decomposed granite in the dry West. Mulch for a woodland path. Flagstone such as bluestone where it is locally available. Tight-jointed pavers or concrete where wheelchairs, walkers or strollers are involved. All the materials compared.
How deep should I dig for a path?
Measured from the finished surface, typically about 4-5 inches for a gravel path, 5-6 inches for decomposed granite, and 6-8 inches for pavers or flagstone on sand (base plus about 1 inch of sand plus the paver). Mulch paths need only 2-4 inches. Dig until you reach firm, undisturbed soil, and go deeper on wet clay or where frost heave is common. Dig 6-8 inches wider than the path so the edging sits on base too. Call 811 first.
How thick should the gravel base be under pavers?
For a walkway with foot traffic and wheelbarrows, 4-6 inches of compacted crushed gravel base (crusher run, road base or similar dense-graded stone) is typical, with more in cold climates with heavy clay soils. Compaction matters more than depth: spread and compact in layers no thicker than about 3 inches with a rented plate compactor, with the gravel slightly damp. One thick dump looks solid on top but stays loose underneath, and that is where pavers sink a couple of winters later.
Does a garden path need edging?
Yes, almost always, and it is the part most often skipped. On a gravel or mulch path the edging is the only thing stopping material wandering into the lawn and beds. On a paver walk, an edge restraint - plastic or aluminum paver edging spiked into the base, or a concrete curb - stops the pavers creeping outward and the joints opening. Run the base out under the edging and keep it continuous: one gap is where it starts to unravel.
How do I stop weeds growing in my path?
Sweep it. Most weeds in a paver or flagstone path sprout in the thin layer of leaves, soil and debris that collects on top and in the joints, not up through the fabric from below. Sweeping or blowing it off every few weeks, especially in fall, beats spraying. Keep the joints full - top up polymeric or joint sand every few years - and pull or hoe seedlings while they are tiny.
Do I need a permit for a walkway?
Usually not for a path in your own backyard. A front walk that ties into a public sidewalk, work in the street right-of-way, or a large paved area that changes drainage can need a permit, and some towns limit how much of a lot can be covered by hard surfaces. Many HOAs require approval for any hardscape. Check with your town and HOA, and always call 811 before you dig.
Why is my path slippery, and what about ice?
A path that stays damp grows algae and moss, usually because of shade, too little slope or overhanging plants. Cleaning it in spring and fall removes the slick film, but the lasting fix is to trim back what shades it, fix low spots, and make sure it sheds water. In snow country, wet leaves and refreezing meltwater are the big hazards: route downspouts away from the path, shovel early, and use sand or a de-icer suited to your surface - rock salt can damage new concrete and some natural stone.
Planning a path, choosing a surface, or fixing one you already have?
If nothing is built yet, start with the route and the width - they cost nothing to get right and a lot to get wrong, and a garden hose laid out for a week will tell you more than any drawing. If the line is settled, the materials guide will match a surface to how the path is used and the climate you live in. And if your path puddles, sinks, heaves or sprouts weeds every year, the answer is almost always underneath it, not on top.
